Spring means a new beginning and a fresh start. Due to the weather, I have been behind on almost everything that shouts out "Spring." Here where I live the warmer weather usually comes around about a month after the calendar says it's Spring, but I am excited that we no longer have to wait. Since the nice weather has been pretty constant, I have finally decided to update everything from my wardrobe to my look and life. Here is my "Get Ready w/ Me: Spring Edition." I hope you guys enjoy it! = )
Music by my baby sister, Mai Nhia Yang
One of my favorite things to do during Spring is to reflect back on my life goals and see what I need to put more work towards and where I stand today as compared to a year ago. It is a great time to check off any accomplishments or bucket list and also set new goals as well. This Spring and as we go into Summer until the cold weather rolls in again, I plan to spend as much time as I can outdoor to fully embrace nature's beauty. I hope this Spring will be a beautiful season for you all!
Love,
MaiKia
Showing posts with label Nails. Show all posts
Showing posts with label Nails. Show all posts
30 April 2013
Get Ready w/ Me: Spring Edition
13 March 2012
Color Blocking Nails
Color blocking is such a pretty trend as the warmer weather rolls in. It is so colorful, giving off such a cheerful feeling. I've seen a lot of color block outfits and shoes, so I decided why not color block nails? I think this is a great way to combine colors in a way that isn't too out there. I hope you guys enjoy my tutorial. You can switch the colors around if you'd like. There is really no wrong way of color blocking. Have fun!


24 October 2011
Pretty Purple Gradient Nails
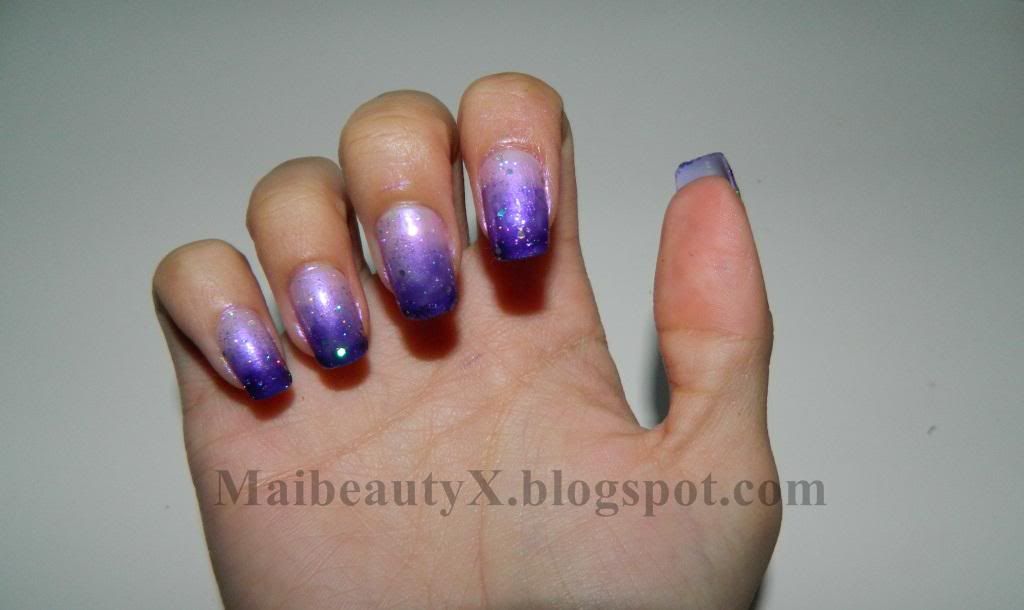
Here is a quick tutorial on how to achieve pretty purple gradient nails. I did this to my nails a while ago and got so many compliments. Some even asked me if it was airbrushed, but I told them, "Nope, I just did it myself with a makeup sponge." ;)
It looks gorgeous on the nails and I think purple is a great color for the fall. I know there are hundreds of tutorials already, but this is my quick tutorial on how to achieve this. It is way easier than it looks! ;)
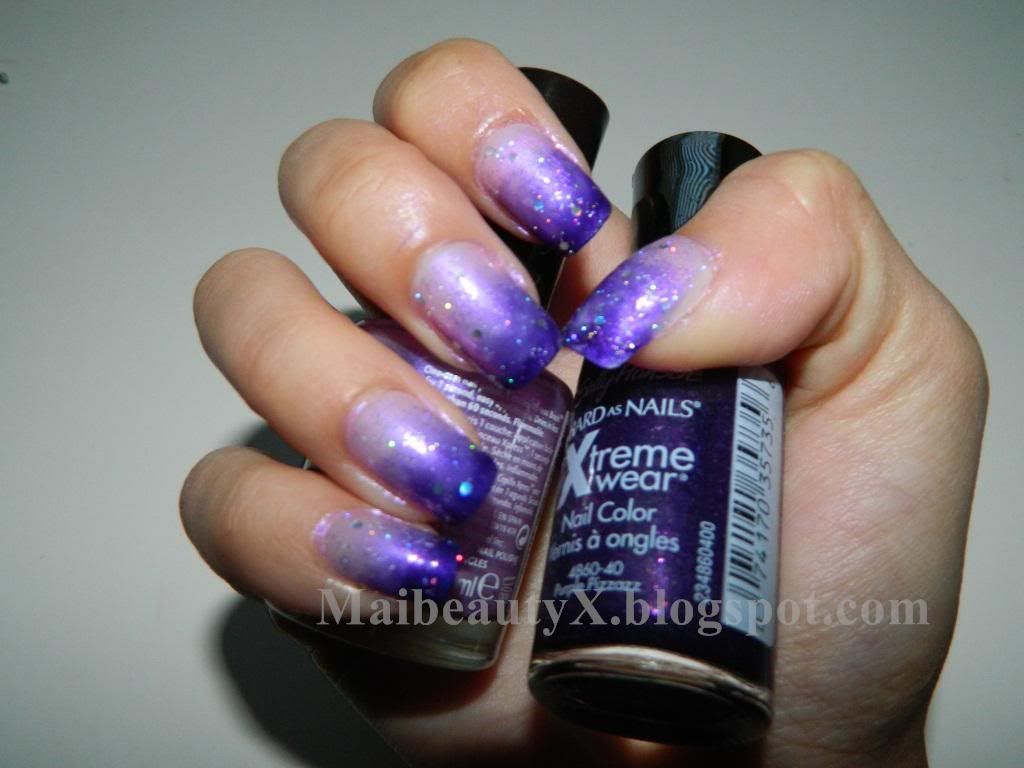
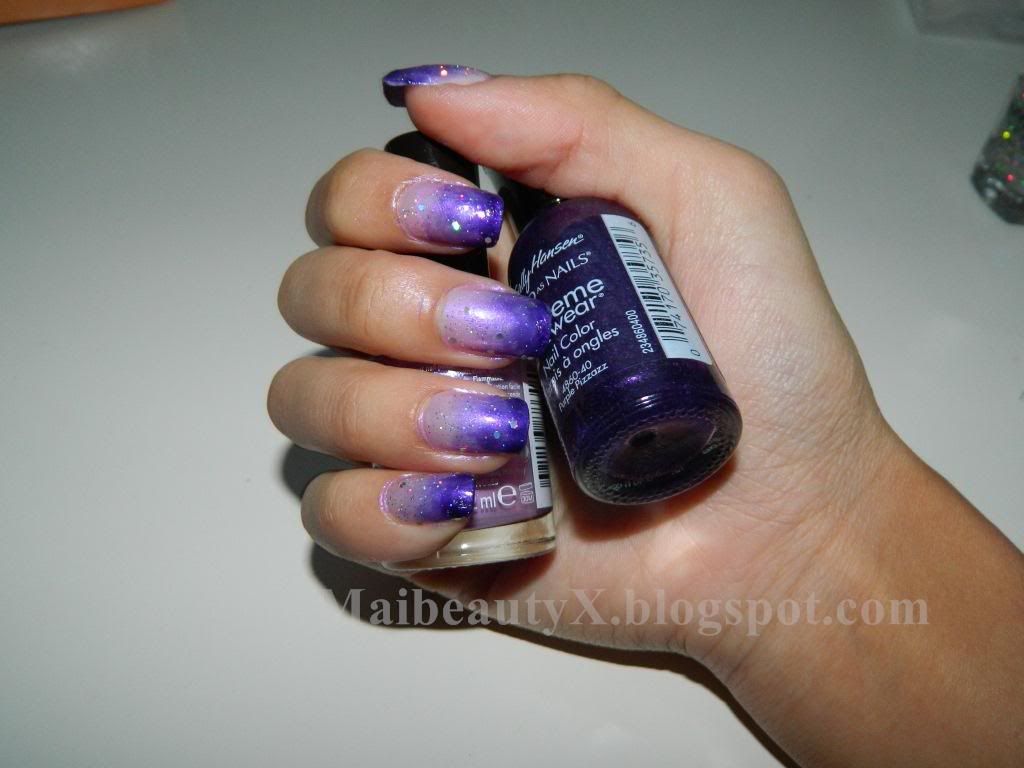
Products:
Rimmel 60 Second in Magnetise
Sally Hansen Xtreme Polish in Purple Pizzazz
Nyx Girls Polish in Spot Light
Disclaimer: Disclaimer: All items mentioned in this video were purchased by me with my own money. I am in no way affiliated with any company.
06 April 2011
Spring Nails: Daisies
I was going through some magazine clippings I collected last year for decorating ideas and I came across some daisies which are one of my favorite flowers. They are so pretty in the many different colors they come in and the simplicity of the flower is what I love most.
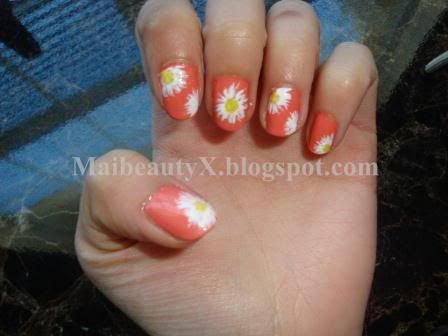
Here is my daisy Spring nail tutorial. I hope that you guys enjoy it!
Products mentioned:
OPI Natural Nail Base Coat
Revlon - Demure
Pure Ice - Excuse me
Kiss Nail Art - White
OPI Top Coat
Disclaimer: All products were purchased by me with my own money. I am not an affiliate of any company.
Here is my daisy Spring nail tutorial. I hope that you guys enjoy it!
Products mentioned:
OPI Natural Nail Base Coat
Revlon - Demure
Pure Ice - Excuse me
Kiss Nail Art - White
OPI Top Coat
Disclaimer: All products were purchased by me with my own money. I am not an affiliate of any company.
15 March 2011
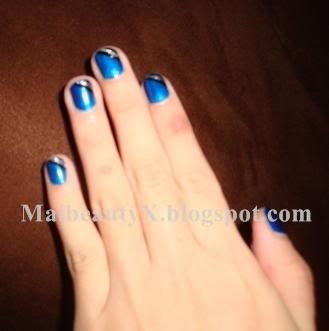
Blue Nails with Black and Silver Stripes
Hi everyone! Today is a very gloomy day in the south. I couldn't sleep at all last night and was up until 3 a.m. which was when it started raining and it hasn't stopped. On the bright side, spring is definitely coming. We've been having really nice warm weather in the 70's lately so I cannot complain. I hope all of you in other parts of the world are experiencing some nice weather as well! My heart goes out to Japan as they are recovering from the earthquake and tsunami. May God be with each and everyone who has lost a loved one and/or are suffering from the natural disaster that occurred last Friday.
Here is the nail tutorial on my nails in my haul video. This is a bold, yet sophisticated look. Even though it is very simple, the silver and black stripes adds a pop of color and gives it more dimension.
A very special thanks to my sister for providing her piano pieces for my videos.
Note: I apologize for the angle of the video. I know you can barely see when I am creating the stripes. I didn't notice that until later on during editing. I will make sure the view is better for future videos ;)
Products used:
OPI Natural Nail Base Coat
Sally Hansen Xtreme Wear polish in Blue It
Kiss Nail Art Paint in Black
Kiss Nail Art Paint in Silver
OPI Top Coat
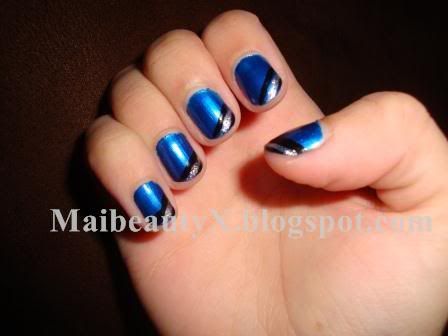
The Sally Hansen polish in Blue It was very thick so I had to carefully take my time while painting. The color was really pretty in the bottle and since I've never used it in the 4-5 months that I've had it, I decided to give it a try in this tutorial. The consistency was very thick so it took longer than the usual to dry.
Disclaimer: I am not affiliated with any companies. All products were purchased with my own money.
Here is the nail tutorial on my nails in my haul video. This is a bold, yet sophisticated look. Even though it is very simple, the silver and black stripes adds a pop of color and gives it more dimension.
A very special thanks to my sister for providing her piano pieces for my videos.
Note: I apologize for the angle of the video. I know you can barely see when I am creating the stripes. I didn't notice that until later on during editing. I will make sure the view is better for future videos ;)
Products used:
OPI Natural Nail Base Coat
Sally Hansen Xtreme Wear polish in Blue It
Kiss Nail Art Paint in Black
Kiss Nail Art Paint in Silver
OPI Top Coat
The Sally Hansen polish in Blue It was very thick so I had to carefully take my time while painting. The color was really pretty in the bottle and since I've never used it in the 4-5 months that I've had it, I decided to give it a try in this tutorial. The consistency was very thick so it took longer than the usual to dry.
Disclaimer: I am not affiliated with any companies. All products were purchased with my own money.
28 February 2011
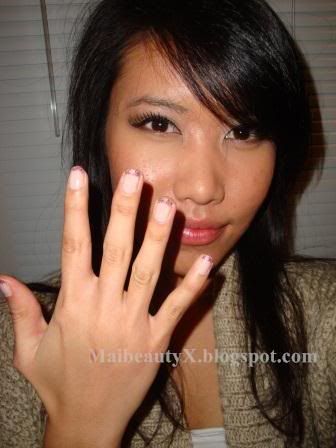
Pink Glitter Tip Nails
My first tutorial is pink glitter tip nails. This look is extremely cute and pretty. It's prefect for any special occasions such as a wedding or prom. You can also wear them on a regular basis and it will still look good. The best part is it's super easy to do!
A clearer look:
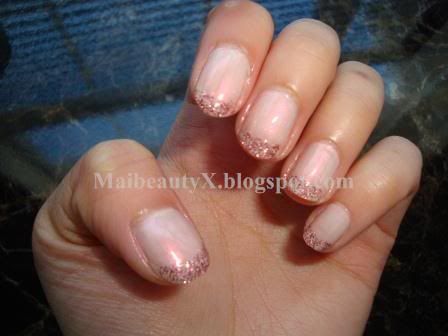
OPI Who Needs a Prince is a very pretty, yet sheer milky pink nail polish. You will need multiple coats in order to achieve the color in the bottle. I did two coats, but you can add more as you like. I say three coats max.
Remember to wait between each application to let the nail polish fully dry before moving onto the next step.
If you decide to try it out, let me know how you liked it!
Disclaimer: All products used were purchased by me with my own money.
A clearer look:
Products mentioned:
OPI Who Needs a Prince
ORLY VIP mini bottle
Sally Hansen Insta-Dri Anti-Chip Top Coat
OPI Who Needs a Prince is a very pretty, yet sheer milky pink nail polish. You will need multiple coats in order to achieve the color in the bottle. I did two coats, but you can add more as you like. I say three coats max.
Remember to wait between each application to let the nail polish fully dry before moving onto the next step.
If you decide to try it out, let me know how you liked it!
Disclaimer: All products used were purchased by me with my own money.
Subscribe to:
Comments (Atom)